Strengthen Your WordPress Security: A Step-by-Step Guide to Adding Two-Factor Authentication (2FA)
In the world of online security, protecting your WordPress website is a top priority. One powerful tool in your security arsenal is Two-Factor Authentication (2FA), which adds an extra layer of protection against unauthorized access. In this comprehensive guide, we’ll walk you through the process of implementing 2FA on your WordPress site, helping safeguard your digital presence from potential threats. We also set up Two-Factor Authentication as part of our WordPress malware removal service to enhance your website’s security and prevent future attacks.
Understanding Two-Factor Authentication (2FA)
2FA is a security process that requires users to provide two different authentication factors before granting access to an account. These factors typically fall into three categories:
- Something You Know: This could be a password or PIN.
- Something You Have: Often, a mobile device or a hardware token.
- Something You Are: Biometrics, such as fingerprint or facial recognition.
By adding a second layer of authentication beyond the traditional username and password, 2FA significantly enhances your website’s security.
How to setup Two-Factor Authentication (2FA) to WordPress

Step 1: Access Your WordPress Dashboard
Log in to your WordPress dashboard using your existing credentials.
Step 2: Install a 2FA Plugin
To enable 2FA on your WordPress site, you’ll need a plugin. There are several excellent options available, but for this tutorial, we’ll use the popular “Two-Factor” plugin.
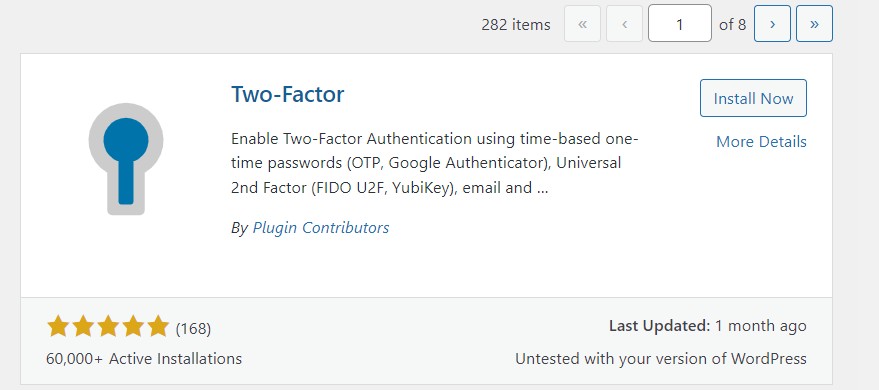
- In your dashboard, navigate to “Plugins” > “Add New.”
- Search for “Two-Factor” in the search bar.
- Install and activate the “Two-Factor” plugin by Plugin Contributors.
Step 3: Configure 2FA Settings
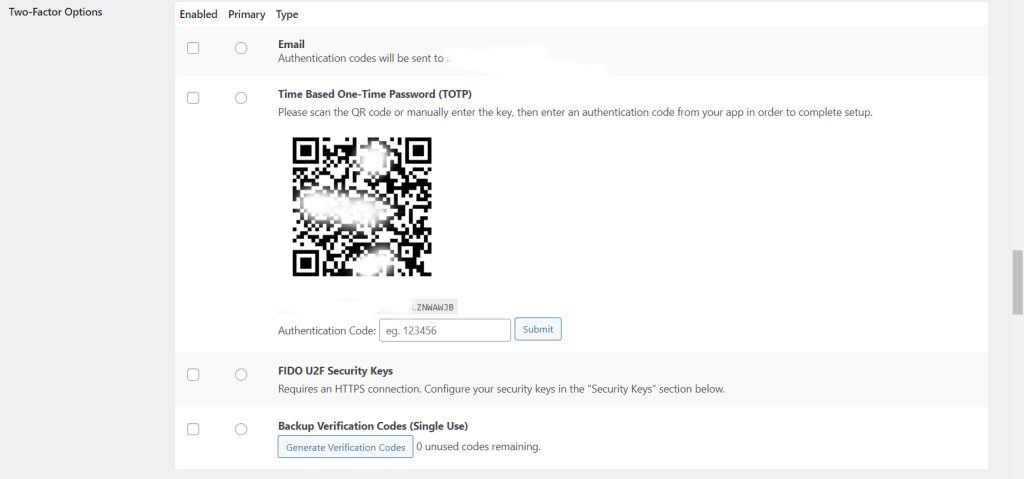
- After activation, go to “Users” > “Your Profile” in your dashboard.
- Scroll down to the “Two-Factor Options” section.
- Under “User Two-Factor Options,” select your preferred 2FA method. You have several options, including Time-Based One-Time Passwords (TOTP) and Universal 2nd Factor (U2F) devices.
- Follow the setup instructions for your chosen 2FA method. For TOTP, you’ll need an authenticator app like Google Authenticator or Authy. For U2F, you’ll need a compatible hardware key.
Step 4: Enable and Configure Backup Methods (Optional)
It’s wise to set up backup methods in case you lose access to your primary 2FA method. The “Two-Factor” plugin offers several backup options, such as email-based codes or backup codes.
- Choose and configure your backup method(s) under “User Two-Factor Options.”
Step 5: Save Changes and Test
- Click “Update Profile” to save your 2FA settings.
- Log out of your WordPress account to test the new 2FA setup.
Step 6: Log In with 2FA
- When you log back in, you’ll be prompted to enter the 2FA code generated by your chosen method.
- Enter the code, and you’ll gain access to your WordPress dashboard.
Step 7: Additional Considerations
- Encourage all users with access to your WordPress site to enable 2FA for their accounts.
- Regularly review and update your security plugins, including your chosen 2FA solution, to ensure you have the latest protections.
By implementing Two-Factor Authentication (2FA) on your WordPress site, you significantly enhance its security posture. This extra layer of defense helps protect your sensitive data and ensures that only authorized users can access your website’s backend. Don’t wait for a security breach; follow this guide to bolster your WordPress security today and enjoy peace of mind knowing your digital fortress is well-guarded.