For the success of any blog, It is necessary to know your audience, traffic stats and how they interact with your website. Google analytics is one of the most popular and must necessary platform which provide all stats without any cost. In this article, We will show you how to set up google analytics in WordPress.
How to install Google Analytics To WordPress Site

Step 1. Sign Up For Google Analytics Account
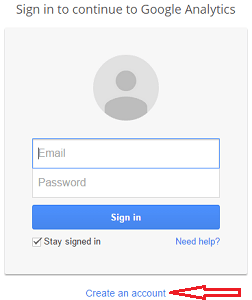
First, you need to sign up for a Google Analytics Account. If you already have a Google account, Just login with your account on this Google Analytics Signup Page. If you don’t have Google account, Click on create account button and sign up for a new account after entering required details.
Step 2. Adding the Website to Google Analytics
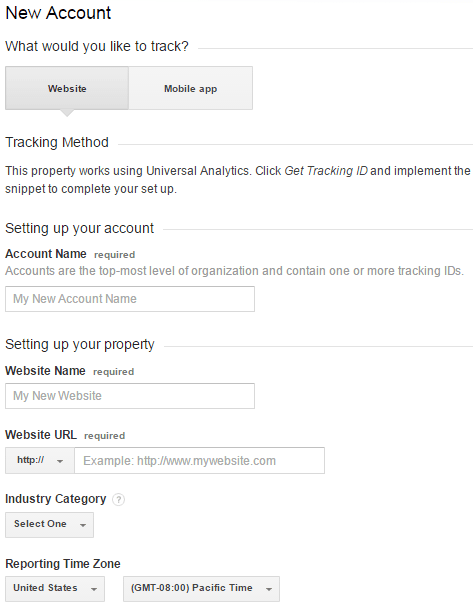
After sign-in to Google Analytics, you will be redirected to the next screen where you can add websites to Google Analytics and get Tracking id. Just fill the form with required details like account name, website name and URL, and the time zone.
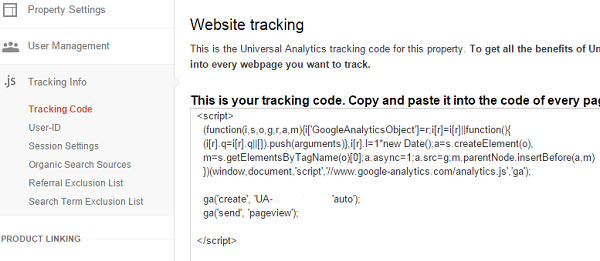
After filling all information, click on ‘Get Tracking ID’ button and accept the term and conditions on the next screen. You will be redirected to the screen looks like the below image. Here you can find your tracking Id and Tracking code which you have to paste on your site pages to track activities of visitors on your site.
Step 3. Add Google Analytics Tracking Code To WordPress Site
For this copy the analytics code. You need to install this code on all pages of your site. There are various ways to install analytics code on all pages of your site and automatically add the code on new pages in the future.
1. Inserting tracking code in header.php and footer.php file
This is a very simple method to install Google Analytics to WordPress. Paste the code in your theme’s header.php right after the <body> tag or in theme’s footer.php before the </body> tag. Every theme has custom option for inserting header and footer scripts, you can add the code header or footer via the themes option panel
2. Google Analytics Using Functions.php
Copy the following code and paste into your theme’s function.php file.
<?php
add_action('wp_footer', 'add_googleanalytics');
function add_googleanalytics() { ?>
// Paste your Google Analytics code from Step 3 here
<?php } ?>
3. Adding tracking code using WordPress Plugin:
You can insert tracking code with the help of WordPress Plugin. Using a lot of plugins decreases the performance of your site, but there is a benefit of using plugin is that if you change your theme in the future you don’t need to insert analytics code again.
After installing the tracking code, You can check that the code was installed successfully to all pages of your blog. For this, Right click on your web page and select view source, you can see the analytics code in the page source. In other method, Go to Google analytics and click on Reporting tab and select Real Time>>Overview from the left panel. Refresh your web page you see live online Audience status with location on your web page.
Google analytics is very important analytics tools for success of any blog. It helps you to understand your site audience with the help of great stats provided by the Google.