CloudFlare is the free CDN service which speeds up and secure your site. Every webmaster wants that his site load faster not only for a better user experience but also better ranking.
Page speed is the most important factor for gaining better search engine rankings. There are many premium CDN available such as Max CDN, But CloudFlare is one of the most Popular and free CDN.
In this article, we will show you how to set up CloudFlare CDN in WordPress to speed up your site.
What is CloudFlare?
CloudFlare is the Content Delivery Network, which serves all static resources of your site by it’s strategically located servers across the globe. This result in faster loading page because every request served by a closest server to the requesting visitor. It acts as a proxy between visitors and your server, which helps protecting your website against network threats like comment spam, excessive bot crawling to malicious attacks like SQL injection and denial of service (DOS) attacks.
CloudFlare provides free CDN service to small websites and blogs and premium plans for businesses and large enterprises who wants extra layers of security and optimization.
How to Setup CloudFlare for Your WordPress Site
We will discuss here both the method of setting up CloudFlare.

Setup Cloudflare via Cpanel:
To setup CloudFlare from Cpanel First login to Cpanel of your hosting account and go to CloudFlare section looks like below image.
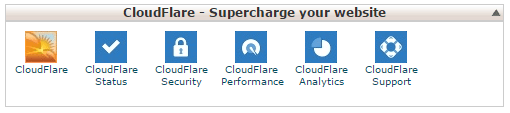
Click on the first icon box named CloudFlare. On the next screen, Click on the Manage tab and after loading refresh screen click on cloud image next to CNAME record of your domain.

Now the color of the Gray Cloud icon will change to orange. Your site was successfully setting up to CloudFlare.

Configuring Cloudflare CDN manually
If your hosting provider is not integrates with CloudFlare Cpanel setup, you can manually configure it by following steps.
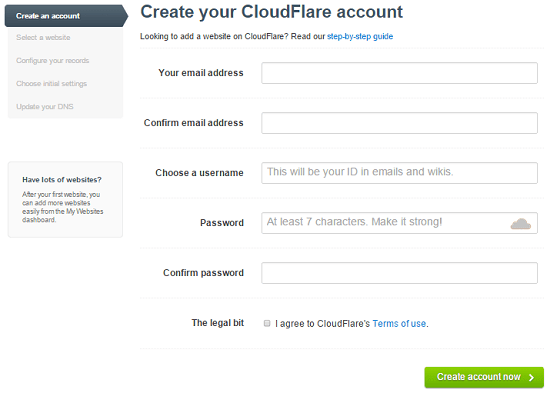
1. Visit Cloudflare website and sign up for the new account. After filling the form, click on ‘Create account now’.
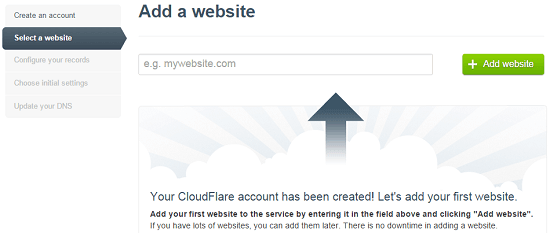
In the next step, Enter the URL of your website and click on Add website button. Now CloudFlare scans your existing domain records.
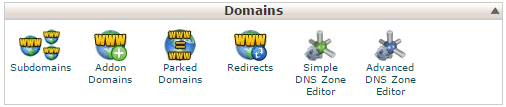
Once the scan is completed you will be redirected to the next screen. CloudFlare will show you the all listed DNS records of your domain and subdomains. Here you can check and verify all Records and add the missing records if any. To check missing records, login to your CPanel and find it on Advanced DNS Zone Editor.
After updating the missing DNS records, if any, you can choose which subdomain you want to run on CloudFlare. The orange cloud icon represents that particular domain or subdomain runs on CloudFlare server and Files served by the CloudFlare. The Gray icon of cloud Represents that particular domain or subdomain is not run on CloudFlare server and all traffic bypassing the CloudFlare network to your server. You can on or off CloudFlare by clicking this cloud icon.
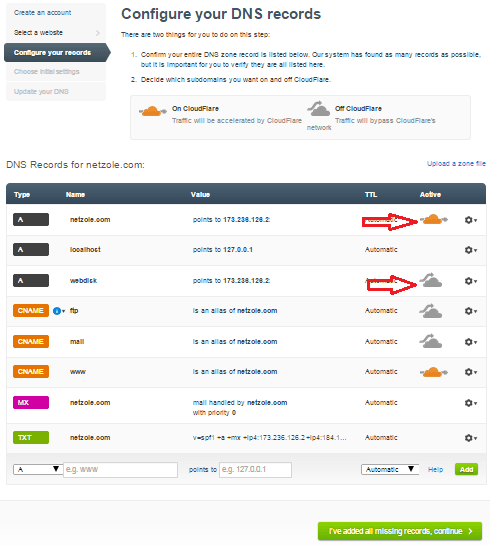
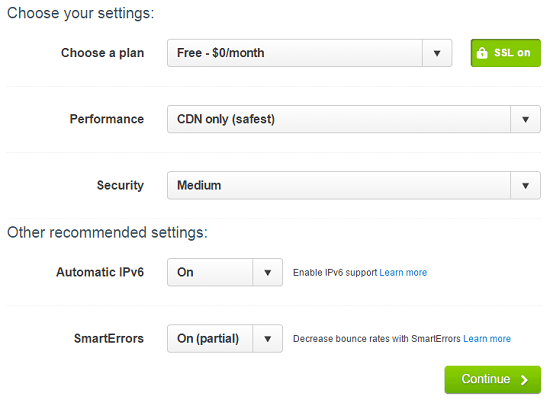
In next step, click on “I’ve added all missing records, continue”. Now choose the free plan and leave rest options to default and click on continue. If you want additional features you can choose paid plan which starts from $20/month.
After choosing the plan, Cloudflare will ask you to update your name servers. They provide two name servers like “gabe.ns.cloudflare.com”. You will need to go to your DNS provider and change your name servers to CloudFlare’s name servers.
How to change Name Servers to CloudFlare
For changing name servers to CloudFlare, Login to your DNS provider and change the name servers to CloudFlare’s Name Servers. If your Domain and Hosting provider same, you will find it under Domain section by clicking on Domain manager. If your Domain and Hosting provider are different, Login to your Domain control panel with your Domain provider.
After Changing the Name Servers, Go back to CloudFlare set up page and click on the button labeled ‘I’ve updated my name servers, continue’ to finish the setup. You have to wait up to 24-48 hours to resolve properly.
You are Done. Your website is now served by CloudFlare.